/Campaigns / Add, Edit, and Copy Email Series
Content
Pages for adding, editing, and copying automatic conversation messages are identical to each other, except for the page title (Add, Edit, or Copy an email, respectively).
The page contains three tabs:
- Main settings
- Restrictions
- Additionally


Main settings
On the Basic Settings tab, you must select the contact group for which you want to add a message.
Specify the sequence number of the email and set the interval from the moment of subscription, when the email is sent. For the first email, it is recommended to set the interval to 0 minutes, so that the email is immediately sent to the subscriber.
In the Send on behalf field, select one of the pre-added, and confirmed senders. Depending on the selected sender, the message will change.
The Subject of the Email field is intended for entering the header of the message, which will be displayed in the subscriber’s mailbox.
The Email Format radio button allows you to choose in what form the message will be generated – HTML or plain text. If you select plain text, no methods of formatting the message are available, but the message is guaranteed to be displayed in the same way in all mailers. When selecting HTML, advanced editing capabilities for messages (editor and HTML-markup mode) are available.
After that, in the editor window, you need to insert the message text or change the existing one.
Editing text is done using the default text editor InfluencerSoft.
Data substitution variables allow you to insert individual values into the message text for each subscriber. For example, when clicking on the Subscriber name button, the variable {$ name} will be inserted in the message text, which will be replaced with the name of a specific subscriber when the message is sent, taken from the database.
Variable Link for quick subscription/unsubscribe allows you to insert a link into the message when clicking on which the subscriber will automatically be moved from one group of subscribers to another without entering any data into the subscription form. This is an important tool that allows you to segment the subscription base.
Click on title Option No. … allows you to minimize and expand the current version of the message. This is convenient if you use split testing (A/B testing), to switch between email variants.

A/B Testing
Split testing allows you to choose an option that has more opens, clicks, and conversions by analyzing the response of the audience to changing any element of the message.
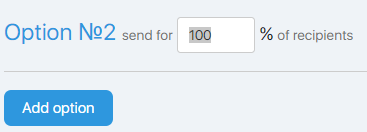
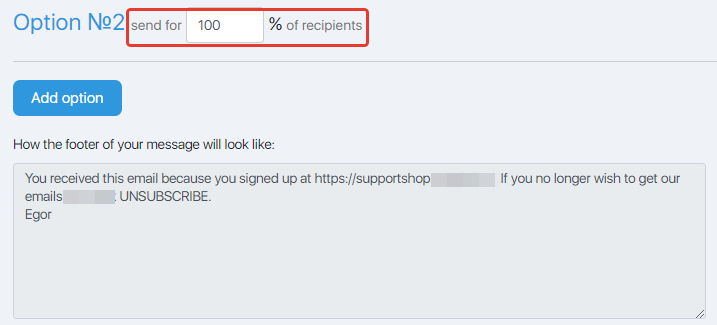
To conduct A/B testing, click the Add option button. Under the first option, a similar editor window will be added, allowing you to enter the second variant of the email. Similarly, you can add the third, fourth, and so on options.

Note. The total value in the window is 100 percent, i.e., if we test two variants, we expose 50 percent, if 3 to33 percent, 33percent and 34 percent, and so on.
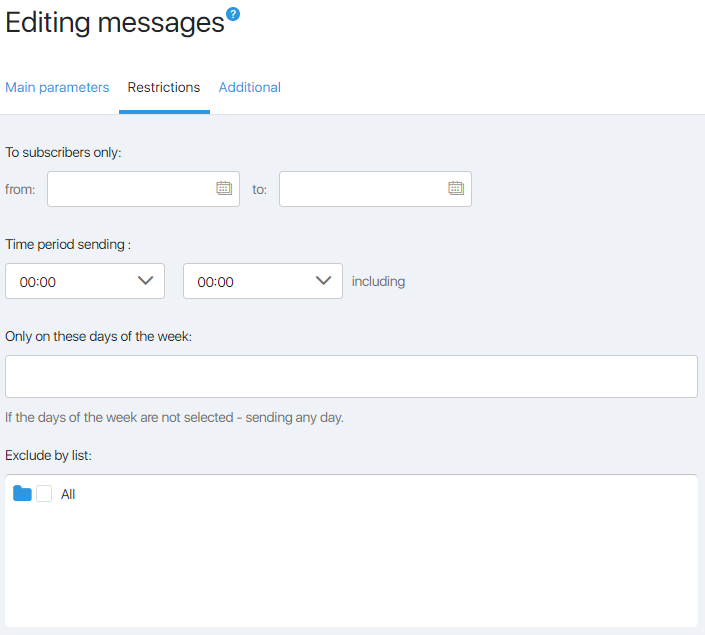
Restrictions
On the Restrictions tab, you can specify which subscriber will not receive this email.

Here, you can set the time interval for sending emails and the days of the week in which emails will be sent. For example, during the summer season on weekends, the email's open rate drops sharply. Allowing sending only on weekdays, you can increase the percentage of those who read the email.
Note! Sending by the clock does not consider the difference in time zones and is made according to Moscow time.
It is not recommended to set restrictions on the days and hours for the first email of the auto series. Subscribers can decide that the email before them simply did not reach.
The Exclude by Groups window allows you to configure which other groups will not receive this email. For example, the email suggests buying a product at a discount. It can be received by customers who bought the product at full cost. To avoid this situation, just tick the checkbox in front of the Customers Group of the Product. This group of subscribers will receive the newsletter without the current email.
Additionally
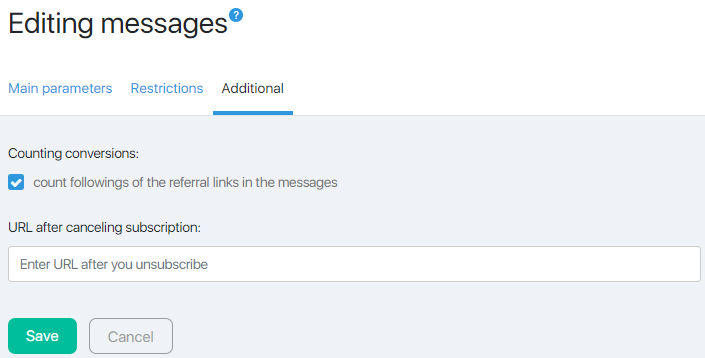
On the tab Additionally, using the checkbox to count links from the message, you can enable or disable the click-through of links in the message. This will allow you to consider not only the open rate, but also the conversion of the email. In addition, then in the instant mailing, it will be possible to send messages that have passed or not passed by reference.

Here, you can specify (if necessary) a personal redirect page after they unsubscribed.
After making all the changes, click the Save button. You will be redirected to the email series page, where you can, if necessary, select the next email to add or edit.
Articles:
Sending and Editing Letters by Lists
Sending and Editing Email by Activity
Comments
0 comments
Please sign in to leave a comment.