Content
- Where are the pages in my account?
- Template Selection
- Device editor
- Collection of ready-made sections
- Adding New Widgets
- Moving items
- Changing design elements
- Site settings
- Creating a page through an HTML editor
- FAQ (frequently asked questions)
Where are the pages in my account?
All operations with pages are made in the section “Websites -> Pages.”

For each site, the default Homepage is:

You can edit it or create a new page using the “Add” button, the address of which will be compiled from the main domain and page ID.

Template Selection
The next step is to select one of the predefined templates or create your own from scratch. Each of the templates can be previewed so you can decide whether it fits for your page or not. To do this, hover over any of the images and click the “View” button.
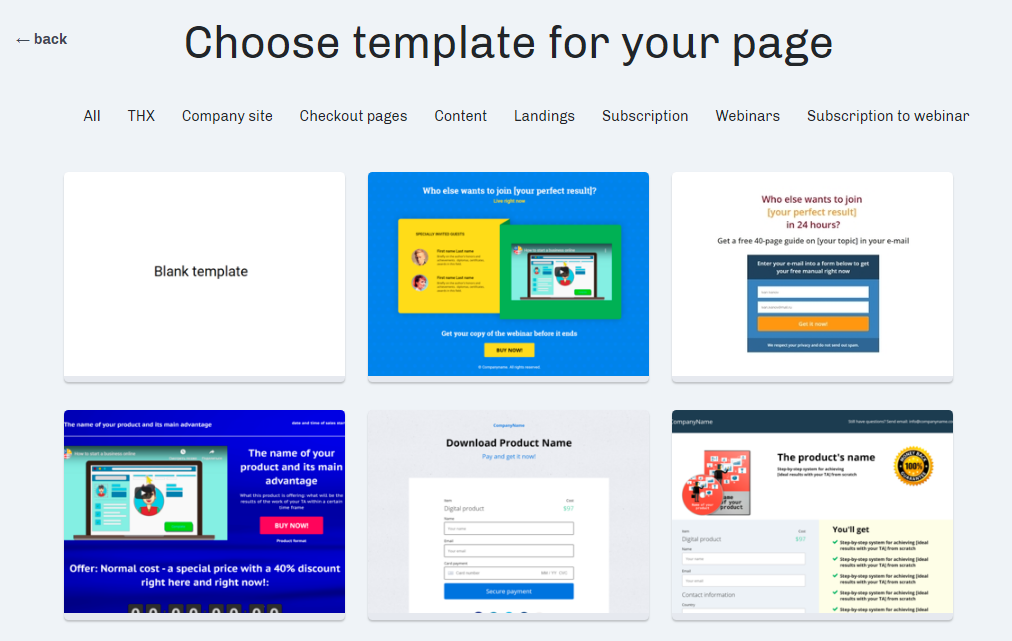
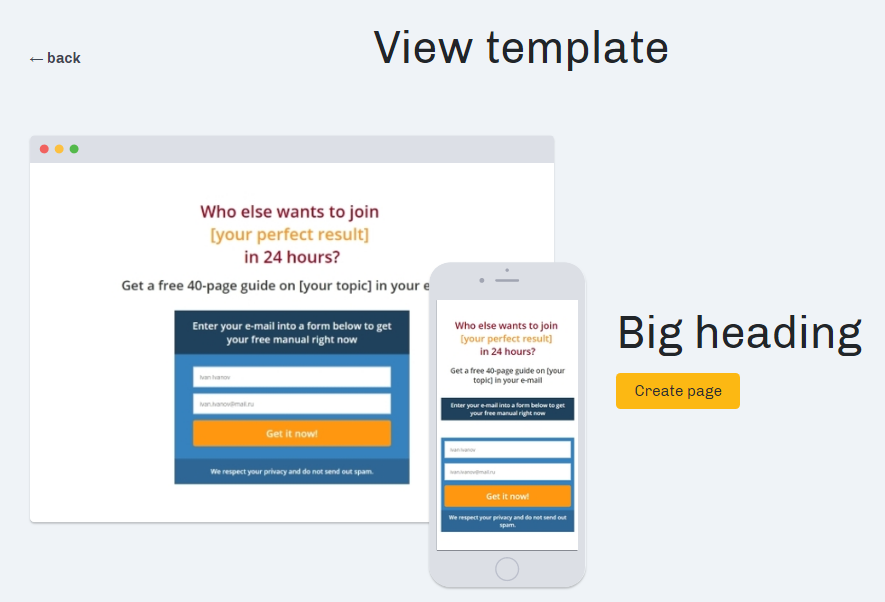
On the page, you can open a preview of the template and see how it will look on a computer or on mobile devices. Also, you can move on to creating a page on the selected template if you already find the template suits your page.
Device editor
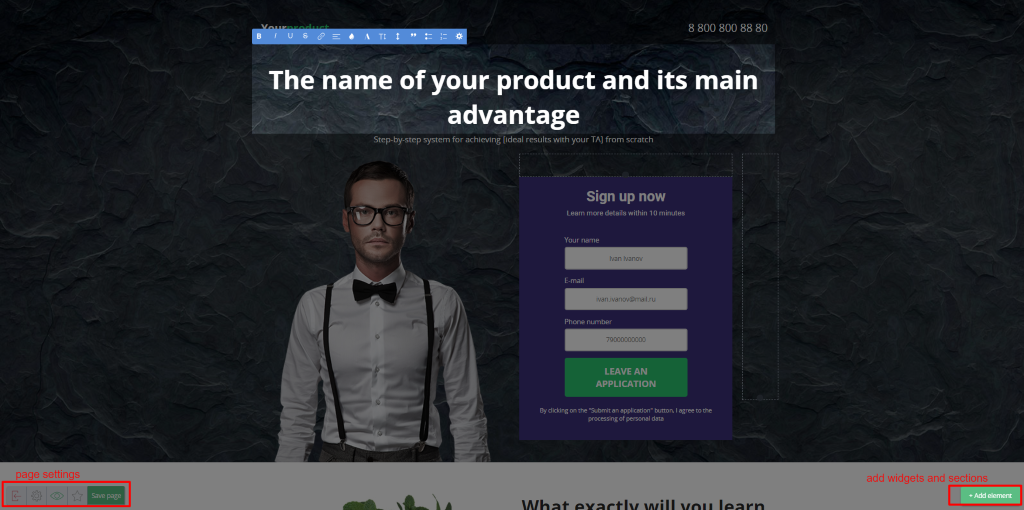
The editor of the template designer takes up the entire width of the screen. The controls are at the bottom:
- On the left – page settings
- On the right – adding new items
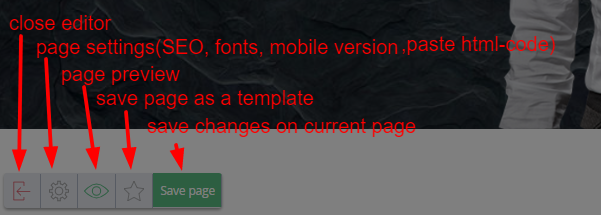
Left panel buttons:
The page is divided into three logical parts: the header, the main content, and the footer.
In each of the parts, you can add the sections.
Inside the section there are widgets.
Collection of ready-made sections
Large blocks of pages – sections – are divided into categories by content type: promo, content, cap, footer, goods, etc. Finished sections will speed up the development of the site.
To select them and add them to the page, click on the “Add item” button at the bottom right:
Adding New Widgets
To add a widget to the page, a section should be placed and selected (by clicking the left mouse button). To add new widgets, click on the “Add item” button. Select the “Widgets” tab on the panel that appears on the right, hold down the desired widget, and drag it to the desired location in the section.
The insertion point is marked with a blue line.
Video Player
00:00
00:00
Moving items
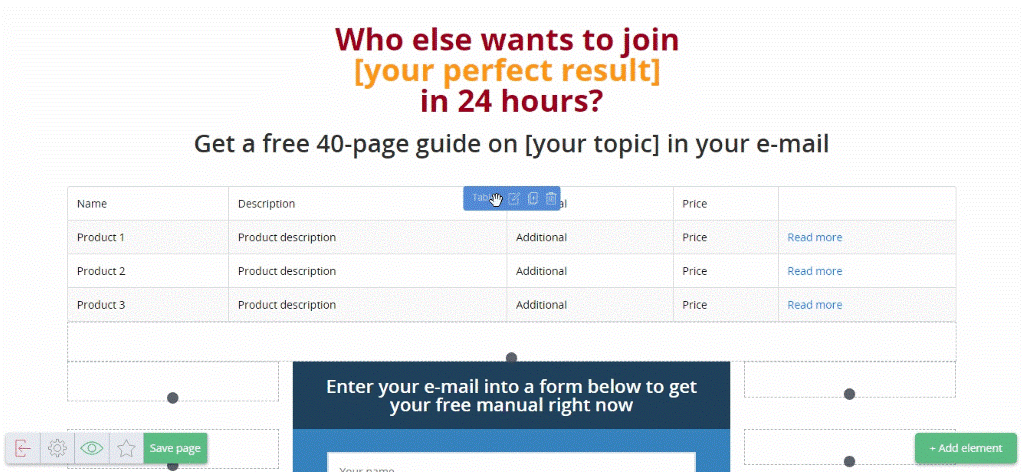
To move a section or widget, click on the block header. While holding the element with the left mouse button, move it to the desired location.
Changing design elements
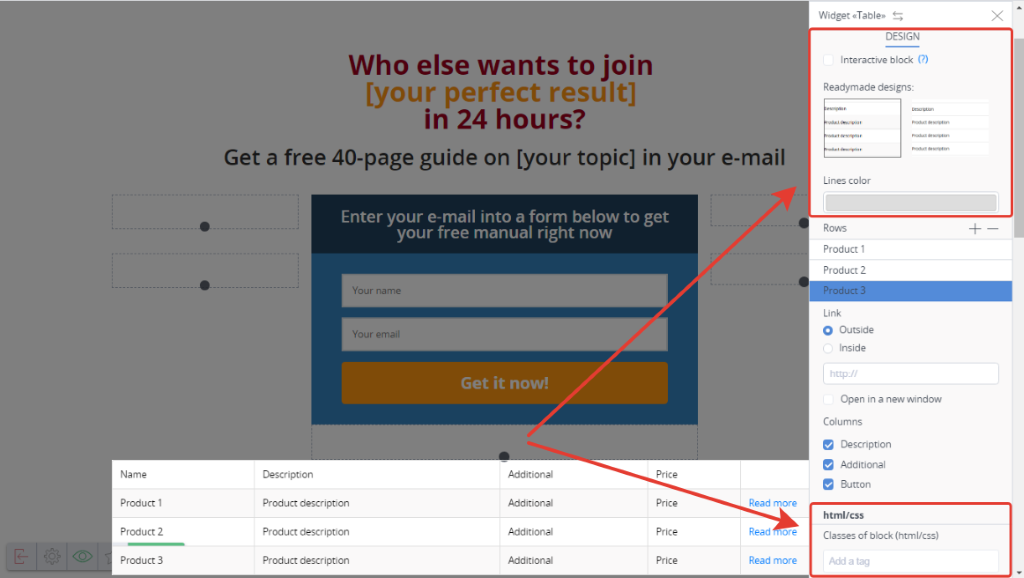
Click on the desired item – the settings for this item will appear in the right panel. There are ready-made styles that help save time on design development for each element. In the html/CSS tab, you can add CSS classes to the block.
Site settings
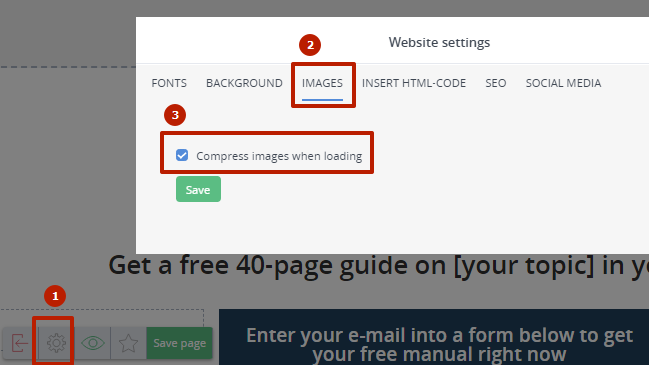
This menu is called by clicking on the gear in the lower left corner and allows you to perform some advanced actions. For example, using other fonts to the page (from the list of proposed ones), selecting a background for the site, enabling or disabling image compression (more on this below). You can also insert additional code in the header (it can be your personal style or, the usual programming language such as, JavaScript), conduct basic SEO optimization (specify title, description), or upload an image for social networks.
Images
Ticking the “Compress images when loading” checkbox will compress images as much as possible without losing image quality. This will help the page load faster.
By default, image compression is enabled for all pages, but you can turn it off by clicking on the “gear” when editing a page. Then, on the “images” tab, you need to uncheck the “Compress images when loading” checkbox.
When loading an image into the page maker, it is immediately saved on our servers in several resolutions. Visitors to your pages see the option that is most suitable for their device.
If the “Compress images when loading” checkbox is unchecked, then users of desktop devices (computers, laptops, and netbooks) will be shown the original image size and quality, and mobile device users will still see a more suitable option for their phone or tablet model, but without compression.
Creating a page through an HTML editor
You may use a specially designed landing page. Just insert the code you received from the programmer to the HTML editor.
The HTML editor is in the same place as the rest of the templates.
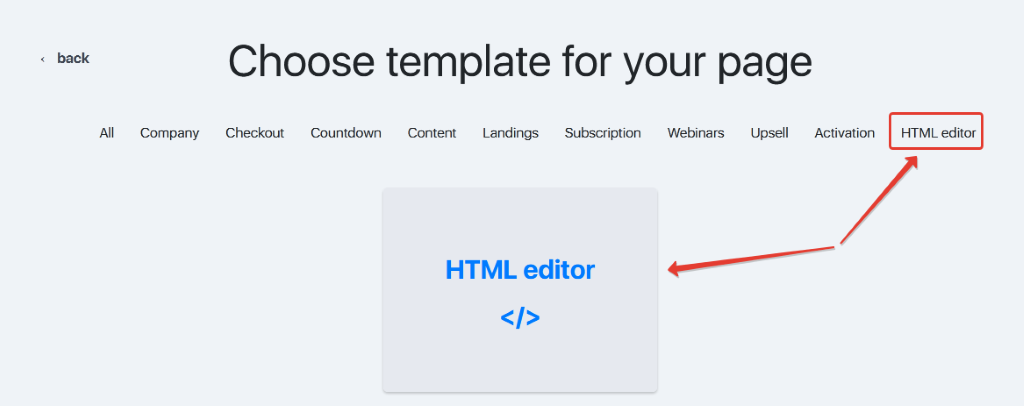
When you select the HTML editor, a page opens with a field into which you need to insert the page code, and save the changes.
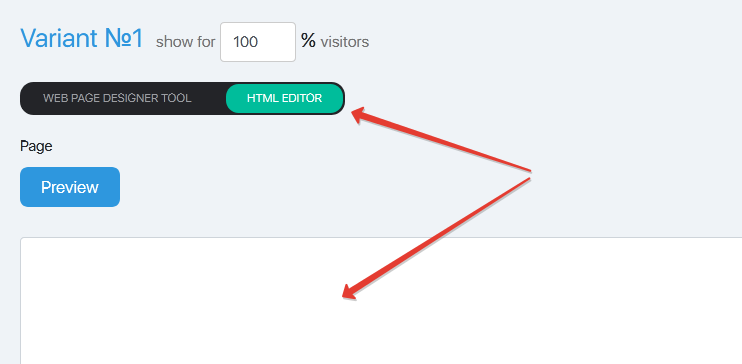
Please note: the page will only have what you write or insert. That is, the code from the Additional tab (Additional HEAD code) is not inserted into pages created through the HTML editor. As well as the code from the same settings field of the entire site.
This means that if for the entire site (in the settings) you have, for example, a Google Analytics counter, then on this page it will need to be placed separately (your programmer can do this at your request).
FAQ (frequently asked questions)
How to set indentation for the mobile version in the text widget of the page?
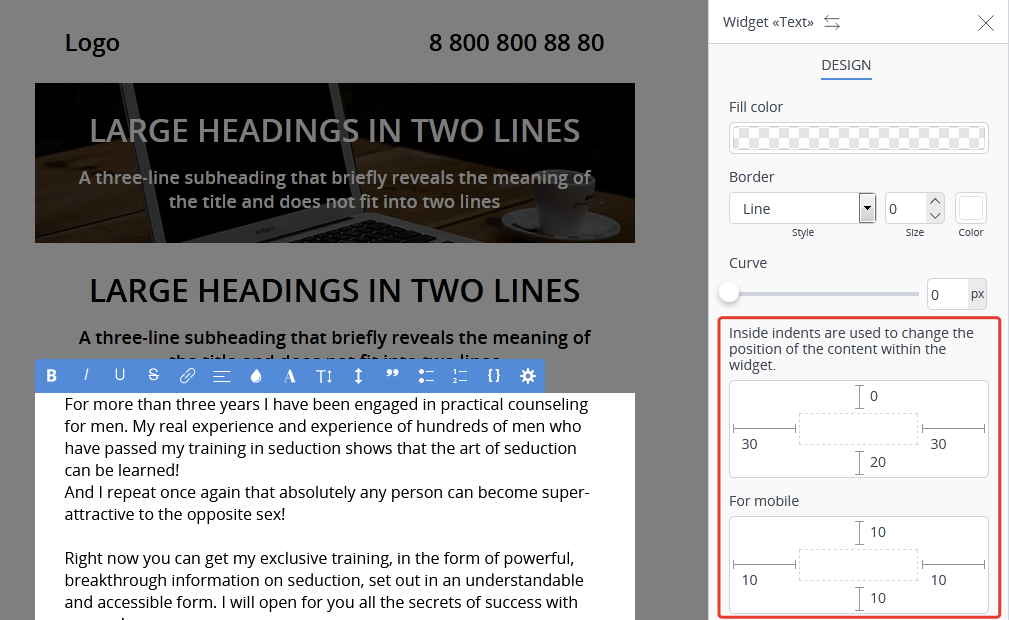
In the settings for the text widget, it is possible to set different indents for the desktop and mobile versions of the lesson separately.
Open the widget “text” settings and set the necessary indent values.
Related Articles:
How to make a broadcast page for a webinar in 5 minutes
How to paste your landing page into InfluencerSoft
Comments
0 comments
Article is closed for comments.