/Contacts / How to Import Contacts From a CSV File
This function can quickly import a list of leads to any usual group/list. You just need to store the required list of addresses in a CSV format and import the file.
When can it be useful?
Case 1: You need to add customers of one or more products to a separate group/list. If you need to add contacts/subscribers from one group to another within one InfluencerSoft account, then use the “gear” in the “Subscribers” section or through the “Leads” section. Filter the necessary data and add them to another or new group.
- Use a filter in Store – Orders to select the required orders.
- Export the filtered data to a CSV format.
-
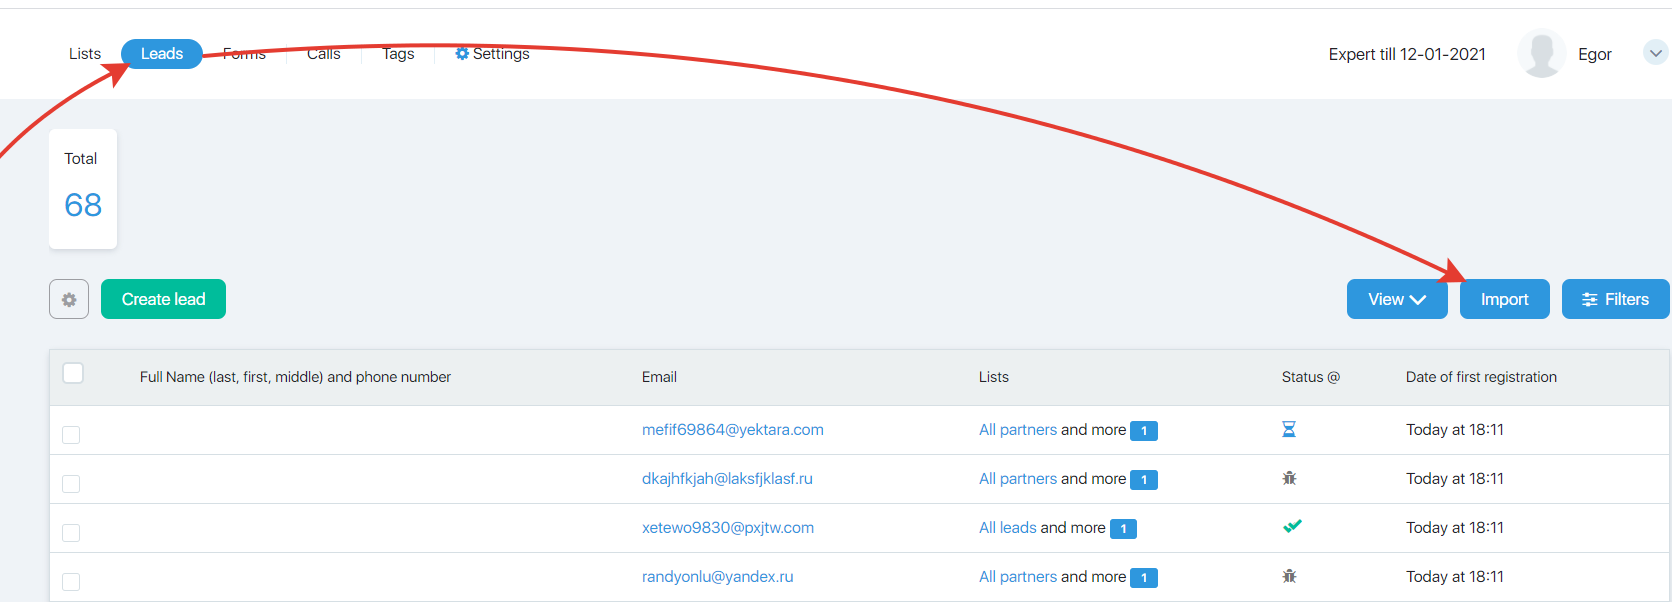
Go to Import and upload the exported data file to its respective group/list.
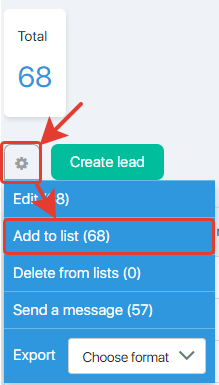
PS: The filter stores information for 5 minutes. If you did not import (add to the group) in five minutes, please filter the necessary contacts again and repeat the procedure, otherwise all contacts in your database will be added to the group.
Case 2: You can export filtered data or contacts / subscribers by group via export by clicking on the gear. Then load this data via import in text or via CSV file.
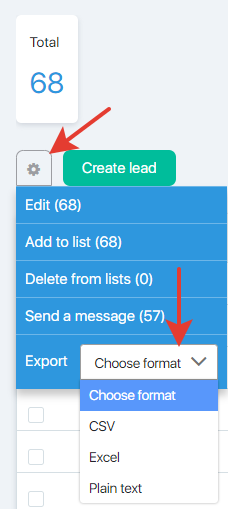
To export (upload) data, click on the gear and select the appropriate format
4. Go to Import and upload the data file to the respective group/list.
5. Create call assignments for the employees under the leads group/list.
Please note that this method is applicable for adding subscribers from a database to another. If your InfluencerSoft database does not have any subscribers, then the imported contacts will be given a “Waiting for activation” status and will not receive the emails from you. The contact should subscribe to any of your mailing list first.
Case 3: There is a list of existing leads from another provider (e.g Mailchimp) that you would like to import into your InfluencerSoft account.
6. Go to Import and upload the CSV file to the respective group/list.
In what status will the contact be added to the new group?
If this is a contact that you already have in the database, it will be added in the same status as at the time of import.
If this is a new contact that you do not have in your database, it will be added in the “Awaiting activation” status. If you import contacts with sending an activation email, then those who activate the subscription will receive an active “Subscribed” status, after which they will be able to receive your mailings.
If this is a new contact and during import you select “Skip sending activation email when importing. It will be possible to send emails to them only through a third-party SMTP server”, then the contact will receive the status “Can only be sent through an external SMTP server” (blue checkmark).
How to upload a subscriber list through Import from CSV
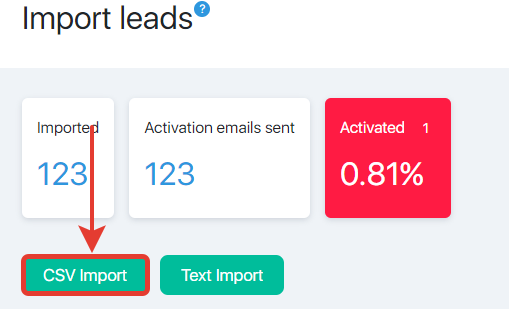
- Go to an advanced import of the subscriber list in the Contacts – Leads section. Select Import – CSV Import.
- On the “Where to import” field, select a group from the dropdown list.
- Upload a CSV file format in UTF-8.
- Select a field delimiter (“;” or “,” or “\ t”)
- Choose whether to send or not a subscription activation message after the import.
-
Click “Next”.
Should I send an activation email or not?
Do not send an activation email when importing new contacts. Sending emails is possible only from a third-party email server – if you set this checkbox, then you will NOT be able to send emails to new imported contacts through our servers. You can send an email to uploaded contacts only if you have configured and selected an external server for sending emails (this server is indicated for an example).
Send an activation message to new subscribers to confirm the permission to receive email newsletters – if you check this box, then a subscription activation email will be sent to all imported contacts. You will be able to send them emails only after they click on the link in this email.
VERY IMPORTANT NOTE!!!
In order to protect against spammers, this import method cannot be abused, it has limitations:
- we recommend importing in batches of not more than 500 contacts at the same time;
- the ideal percentage of activation emails should be close to 100%;
- if the percentage of activation is low, DO NOT IMPORT ANOTHER BATCH otherwise the ability to import with activation will be suspended and your account will be PERMANENT DISABLED.
Set the field in the tool to match the CSV file fields. It can be interchanged depending on the order of importance or one’s preference. If any columns of your file do not need to be imported, select “Do not import” from the dropdown list.
The “Do not import the first row” option excludes the first row from the imported file, e.g., the column names below. This function is activated by default. To disable it, uncheck the box.
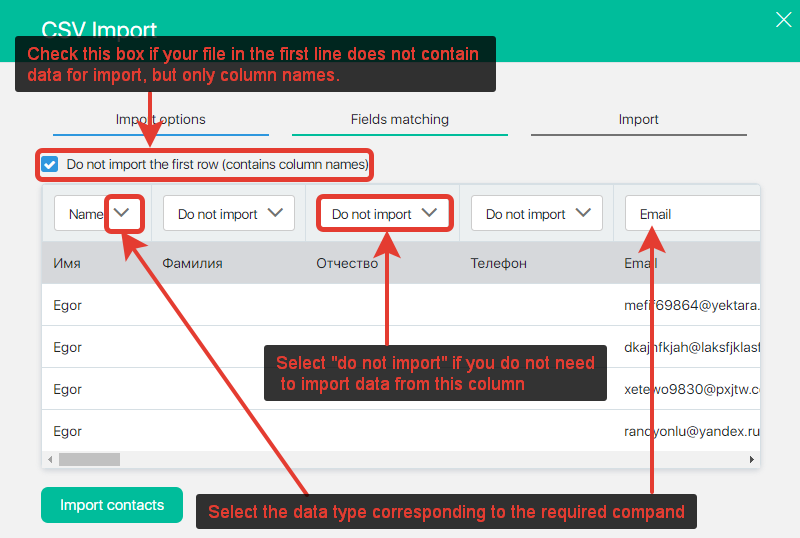
- When the fields matches are set, click “Import contacts”.
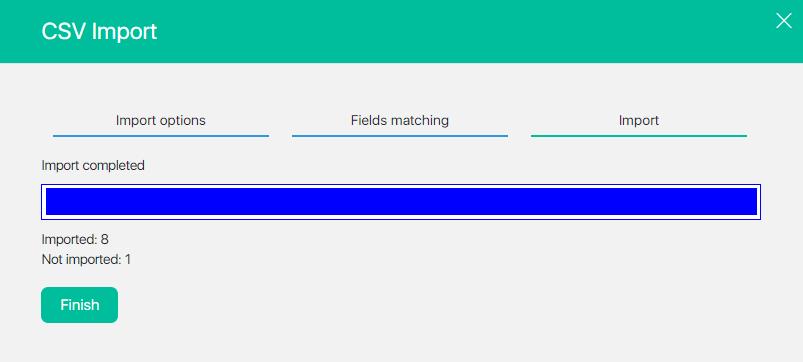
- After the import is complete, the number of contacts that have been imported will be shown. In the example 8 lines were imported and 1 line could not be loaded.
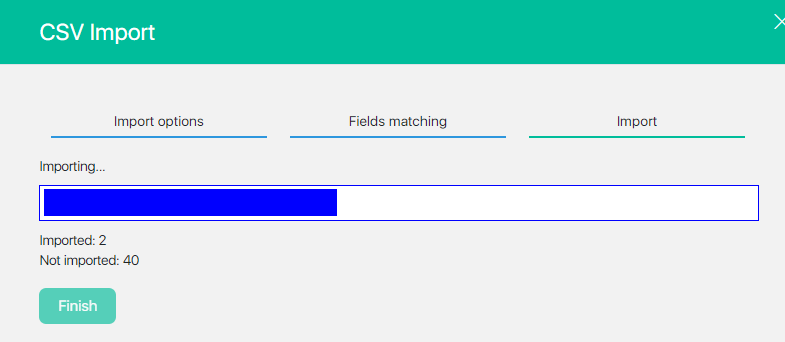
If you close the window or click “Finish” before the end of the process, the import will still run in the background, while the progress can be seen in the history table. If there are errors in the list of imported data, you will receive a notification about the line number with an error and the import will be paused. Correct the error and import again.

Comments
0 comments
Please sign in to leave a comment.